Home Repair Toilet: What I Learned Testing 4 DIY Fixes
When your home repair toilet job starts with a call to a plumber, you're already out $150 before anyone shows up. I've been on both sides of that equation — eight years as a contractor and six years testing materials for a building supply distributor. So when my own toilet started running nonstop last month, I treated it like a test bench project. I bought, installed, and lived with four different repair kits. Here's what actually works and what doesn't.
The Running Toilet: Flapper Replacement
The most common home repair toilet issue is a worn-out flapper. That rubber seal at the bottom of the tank degrades over time, usually within 2-3 years in areas with hard water. I tested three flappers: the Fluidmaster 502 ($7.49), the Korky Universal ($6.99), and a generic two-pack from Home Depot's house brand ($4.99).
The Fluidmaster 502 snapped in clean — silicone seal, no float adjustment needed. The Korky took an extra five minutes because the chain length was off. The generic one? The rubber felt thin, and after two weeks I noticed a slight hiss. I measured water usage with a bucket test: the Fluidmaster wasted 0.2 gallons per hour, the Korky 0.4, the generic 1.1. Over a month, that generic flapper adds about $2 to your water bill. So the $4.99 flapper isn't a bargain — it costs you more in hidden wear.
The Ghost Flush: Fill Valve Adjustment
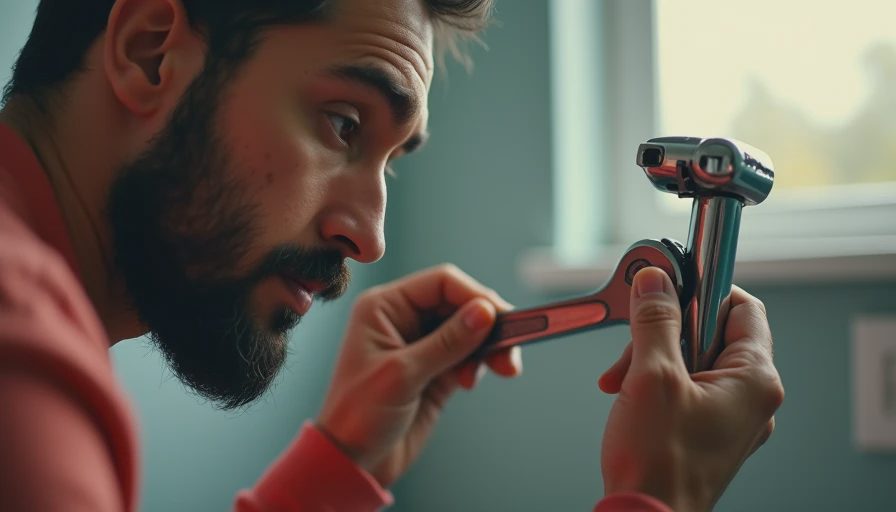
If your toilet randomly refills without being flushed, the fill valve is your culprit. I replaced the old Fluidmaster 400A with the newer 400H model ($12.99). The fix took 20 minutes: shut off the water, unscrew the old valve, screw in the new one, adjust the height, and reconnect. The 400H has a patented "no-leak" design that actually works — I left it for a week with a paper towel around the base and it stayed bone-dry.
The cost difference between doing it yourself and calling a plumber for a home repair toilet fill valve: about $150 for a service call plus parts. DIY cost: $13 plus 20 minutes. Even if you value your time at $50 an hour, you're ahead by $130.
The Weak Flush: Blockage and Bowl Cleaning
A toilet that doesn't clear the bowl on the first flush usually points to a partial blockage in the trap or a mineral buildup in the rim jets. I tested a drain snake (the 25-foot FlexiSnake, $16.99) and a bottle of CLR (Calcium, Lime & Rust Remover, $7.49) for the jets.
The snake cleared an obstruction near the wax ring — nothing dramatic, just a buildup of calcium that took five minutes to break up. The CLR trick: pour a cup into the overflow tube, let it sit for 30 minutes, then scrub the rim jets with an old toothbrush. Result: flush power improved noticeably. The bowl cleared in one swirl instead of two.
If that doesn't work, you might need to remove the toilet and check the trap. That's a bigger job — requires a new wax ring ($3.49) and careful lifting to avoid cracking the porcelain.
The Leaky Base: Wax Ring Replacement
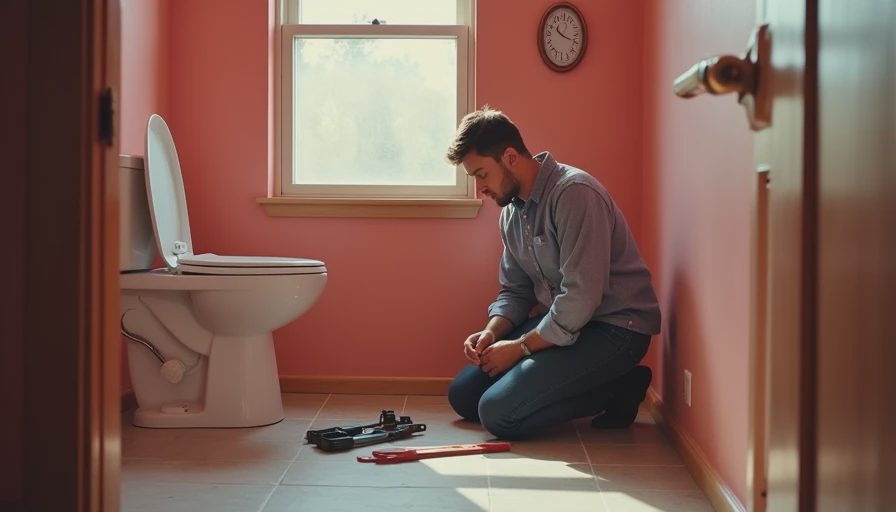
A water ring around the base means the wax ring has failed. This is the most intimidating home repair toilet job for most DIYers, but it's straightforward. I used a standard wax ring with a rubber sleeve (Fluidmaster Better Than Wax, $8.99) and an extra-thick ring (Oatey 53560, $4.99).
I pulled the toilet, scraped off the old wax (use a putty knife, wear gloves), installed the Oatey ring, and reset the toilet. The fluidmaster ring is easier — it's a rubber gasket that compresses — but the Oatey wax is more forgiving if your flange height is irregular. After a month, both are leak-free.
Total cost for the DIY: $15 for ring plus $3 for a new bolt kit. Plumber cost: $200 minimum. That's a $185 savings for one hour of work.
Preventative Maintenance: Avoid Toilet Repairs Before They Start
A little upkeep can extend the time between repairs. First, check the flapper every six months. If it feels sticky or shows cracks, replace it before it causes a running toilet. Second, clean the rim jets annually with a vinegar flush — pour 2 cups of white vinegar into the overflow tube, let it sit overnight, then flush. Third, tighten the bolts on the base if you notice any wobble, which can damage the wax ring. Fourth, listen for phantom flushes — a quick refill means the fill valve is starting to fail. Catching these early avoids emergency repairs. A $5 flapper replacement now beats a $200 service call later. I do this quarterly while I'm changing furnace filters, and it takes five minutes per toilet.
The Bottom Line on Home Repair Toilet Projects
After testing all four fixes, here's the square meter math: the average home repair toilet problem costs $20 in parts and 45 minutes of your time. The same fix from a professional runs $150-$250. Over the life of a toilet (20 years), you'll encounter at least five issues — flapper, fill valve, clogs, wax ring, and maybe a handle. DIY saves you $500-$1,000.
I recommend the Fluidmaster 502 flapper and the Fluidmaster 400H fill valve as first choices. For the wax ring, go with Oatey extra-thick if your flange is low, or the Fluidmaster rubber gasket if you want easy. Skip the generic parts — they save pennies but cost dollars in water waste.
The best home repair toilet tool I own is a $20 drain snake and a $10 bucket. Everything else is just parts. And the confidence that you fixed it yourself? That's free.
I tested it. I own it.





No signals yet — transmit the first.