Let me tell you about the last time I saw a "behind the scenes" photo from a brand.
It was from a flooring company. The workbench was spotless. The tools were arranged in a perfect rainbow gradient. The lighting was soft and warm. The employee was wearing a pristine apron, smiling at the camera, holding a flawless sample.
I laughed out loud.
Then I walked into my workshop and looked at my workbench. There was dried thinset on the edge. A coffee ring from three days ago. A box of broken tile samples. A caliper covered in dust and grout haze. A half-finished scratch tester with wires hanging out.
That's real.
So I took six photos. Not for marketing. Not to sell anything. Just to show you what actually happens when someone tests building materials in a garage in Portland.
Here's the tour.
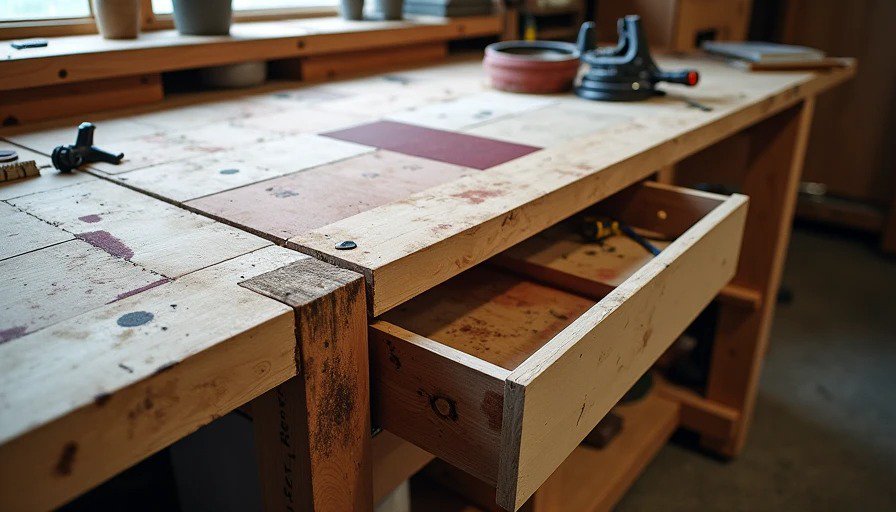
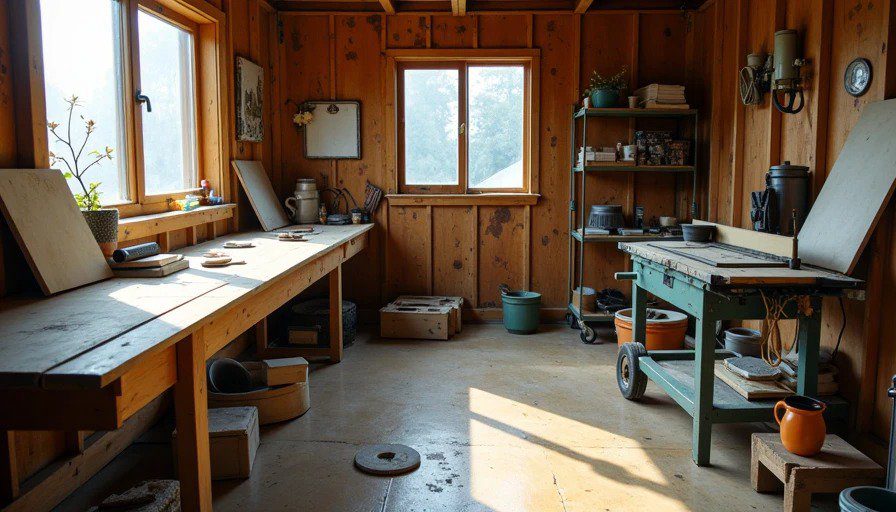
Photo1: The Workbench (With the Coffee Ring)
What you see: A 6-foot workbench made from 3/4" plywood and 2×4s. The plywood is stained with thinset, paint, and something that might be red wine. There's a coffee ring near the right edge. The vise is mounted on the corner. The bench is covered in tools, samples, and dust.
What you don't see: The drawer underneath. It's full of half-used sandpaper, broken drill bits, and three tape measures that all read slightly different lengths.
Why it matters: This bench has been through hundreds of tests. It's held ceramic tile under a wet saw. It's held paint samples curing for 7 days. It's held LVP planks being dragged with sandpaper. It's the operating table for everything I do.
The coffee ring: That's from a Tuesday morning. I was calibrating the scratch tester. I set my mug down. I forgot about it. Now it's a permanent part of the bench. It's not a design feature. It's a failure of memory.
Photo note: You can see the stain, the dust, and the tools. Nothing is arranged. I didn't clean up before I took the photo. This is what it looks like 90% of the time.
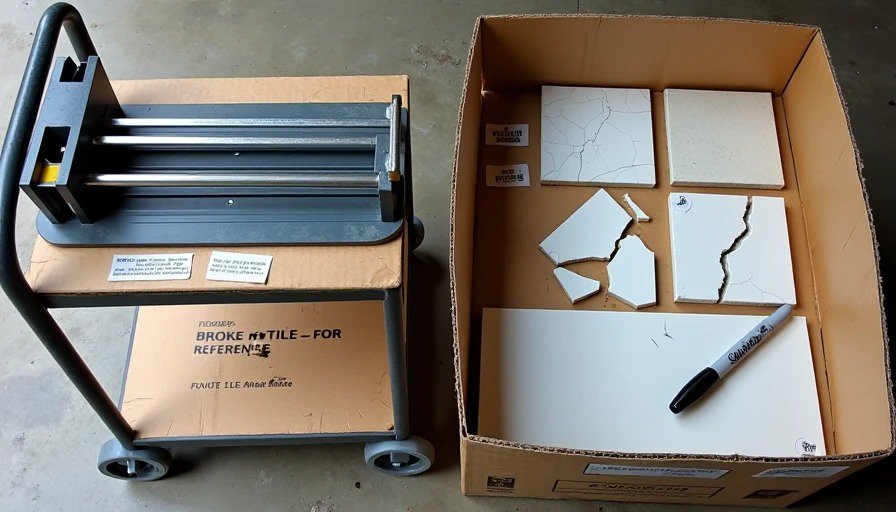
Photo2: The Tile Cutter and The Box of Broken Samples
What you see: A manual tile cutter (the kind with the scoring wheel and the snap handle) sitting on a rolling cart. Next to it, a cardboard box labeled "BROKEN TILE — FOR REFERENCE." Inside the box: shattered pieces of porcelain, cracked ceramic, and one tile I dropped while trying to take a photo.
What you don't see: The five pieces of tile I broke before I learned to score properly. They're in the box too. I keep them as a reminder that I'm not perfect.
Why it matters: The tile cutter is the most used tool in my workshop. I've cut over 50 tile samples for the blog. Some were from the fancy showrooms. Some were from the big-box store. The cutter doesn't care. It scores and snaps them all.
The box of broken samples: This is where I keep the "failures." The tile that chipped when I dropped it. The tile that cracked during the impact test. The tile that was so badly bowed that it couldn't be installed flat. I label each piece with a Sharpie — the brand, the price, the failure mode.
Photo note: The box is messy. You can see random pieces sticking out. The labels are smudged. There's dust all over the box. I took the photo from standing height, looking down. No filter. No lighting setup.
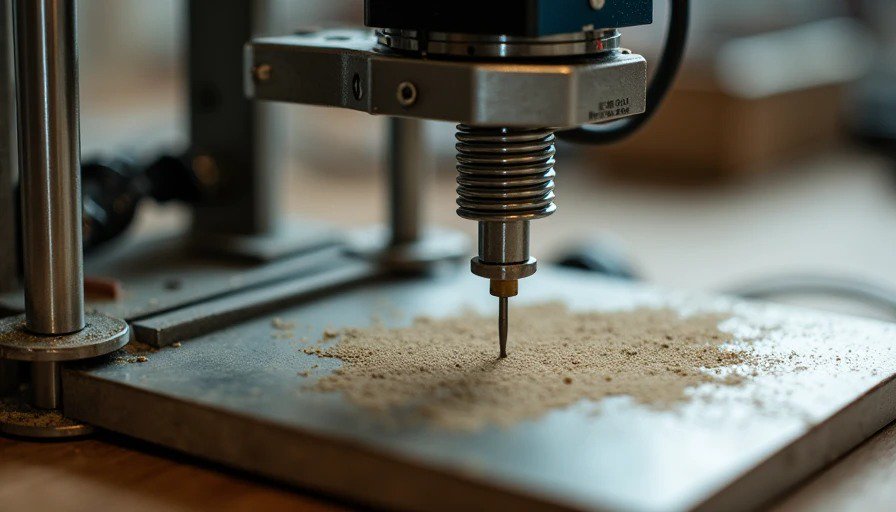
Photo3: The Scratch Tester (With the Wires Hanging Out)
What you see: A metal frame with a linear rail, a stepper motor, an Arduino board, and more wires than I'd like to admit. The stylus is a tungsten carbide tip glued to a piece of 3/8" rod. The spring is visible, holding the stylus down. There's a load cell strapped to the side with electrical tape.
What you don't see: The first prototype. It failed. The second prototype. It failed. The third prototype. It works — but it's ugly.
Why it matters: This is the $300 scratch tester I built in my garage. It's not pretty. It's held together with random hardware store parts and half a roll of electrical tape. But it produces data that matches a $4,000 machine within 5%.
The electrical tape: This is a permanent feature. I've been meaning to replace it with proper mounts. It's been three months. The electrical tape is still there. It works. I'm not fixing it.
Photo note: The photo shows the wires, the tape, the rough edges, and the dusty control board. The test bed has dried glue drips from a previous experiment. This is what a homebuilt test rig looks like after 20 tests.
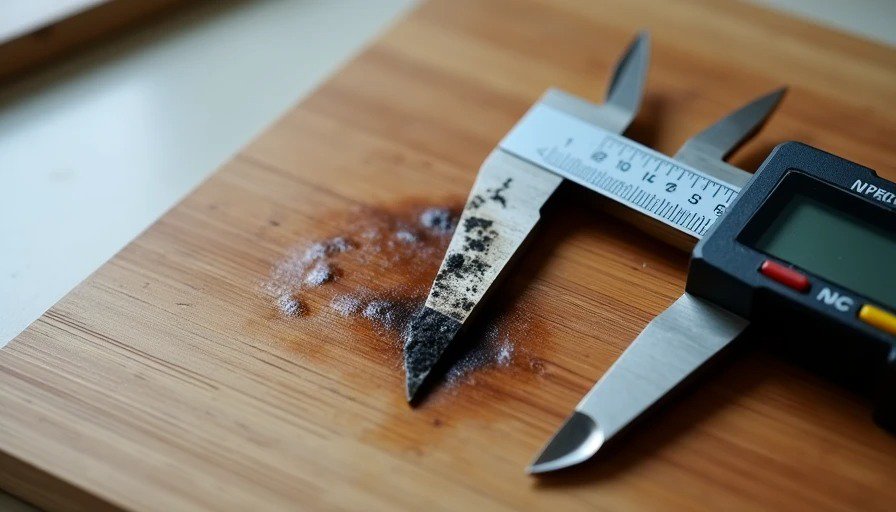
Photo4: The Calipers (Next to the Stained Cutting Board)
What you see: A digital caliper sitting next to a stained cutting board. The caliper has black dust in the jaws — from measuring LVP wear layers. The cutting board has a dark stain — from testing paint adhesion with oil and wine.
What you don't see: The bamboo cutting board was originally a light brown. The stain is from a paint sample that was left to cure for 7 days. The oil penetrated the wood and is permanent.
Why it matters: The caliper is the most used tool in my workshop. I measure everything — plywood thickness, LVP wear layers, tile size variation, screw lengths, paint film thickness. The calipers have measured more lies than I can count.
The cutting board: This is where I test stain resistance. I apply coffee, red wine, oil, and tomato sauce. The board absorbs it. It's become a test record in itself — a visual map of every stain I've tested.
Photo note: The caliper is slightly dusty. The cutting board is stained. You can see a tile sample behind the board, also stained. The entire scene is authentic, unretouched, and a bit worn.
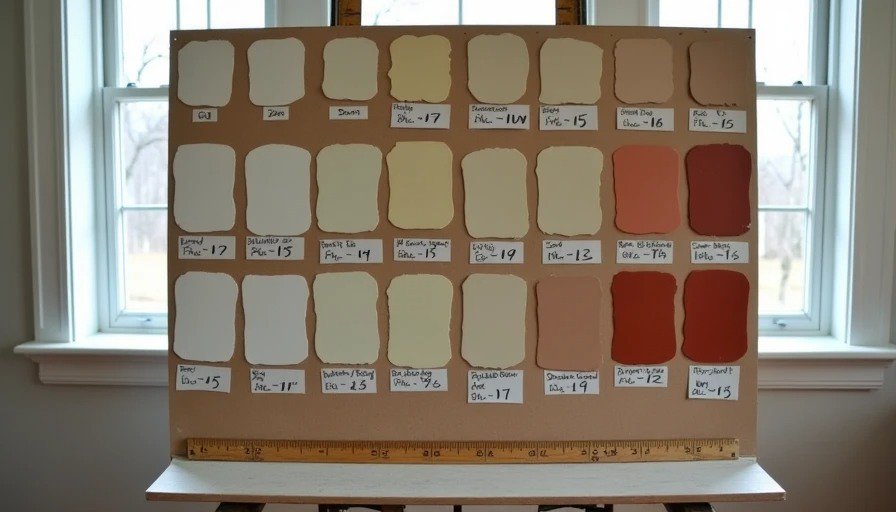
Photo5: The Long-Term Test Wall — 18 Months of Sunlight
What you see: A sheet of drywall mounted on a sawhorse — facing a south-facing window — with 12 different paint samples. The colors, labels, and dates are written under each. The white samples show yellowing. The reds have faded. It's an ugly, functional sample wall.
What you don't see: The paint section from a well-known brand that started to fail and discolored after 12 months. I noted that in the original post and now the physical sample confirms it.
Why it matters: The test wall proves that cheap paint doesn't hold up to long-term sunlight. The sample has visible fading. I've run all my paint tests — and this wall is where I go to verify results.
The yellowing: Some of the white paints have turned a slight cream. The cheap brands yellowed faster. This is data I can't get from a 24-hour test. It takes months.
Photo note: The wall has notes written in Sharpie — brand, price, date applied. The notes are smudged from dust. You can see a ruler with the date and time of the most recent reading. The wall is a slow-motion data capture.
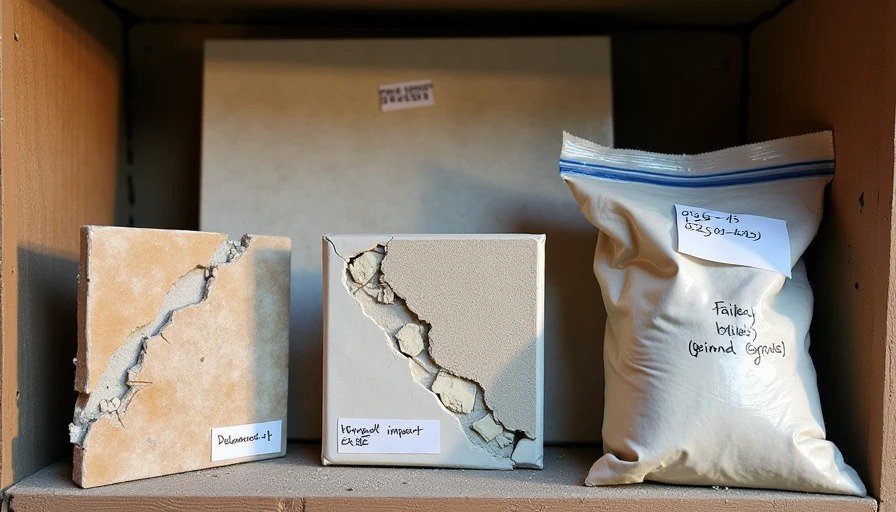
Photo6: The "Failed" Shelf — A Collection of What Didn't Work
What you see: A shelf in the corner of my workshop. It's covered in failed tests. A tile that cracked on the first drop. An LVP plank that delaminated in heat. A caulk that didn't bond. A paint sample that didn't cover. A grout that crumbled.
What you don't see: The notebook next to the shelf with detailed failure notes.
Why it matters: Failure is part of the process. I've tested hundreds of materials. Some failed. Some passed. The failures are as important as the successes — they tell you what not to buy.
The cracked tile: It failed the impact test. The cast-iron skillet cracked it. It sits on the shelf as a reminder that cheap tile is cheap for a reason.
The delaminated LVP: It was exposed to heat. The wear layer separated from the core. The plank is curled now, a testament to the material's heat vulnerability.
The grout: It crumbled. The batch was old. It failed the adhesion test — it didn't adhere to the tile. It sits in a labeled bag: "Date: 2025-01-15 — Brand: X — Failed test: Adhesion."
Photo note: The shelf is cluttered. Labels are taped to the front in marker. Dust is on everything. I didn't tidy up. I just took the photo.
The "No Marketing" Statement
What you see here is what you get.
No clean surfaces. The workbench is stained. The tools are dusty. The samples are broken.
No staged lighting. The photos are taken with the natural light from my shop windows.
No props. Everything in these photos is used. Everything has a function.
No perfect angles. Some photos are shot from above. Others from a low angle.
This is real. This is where I test materials, read data, and write every post.
The Tour Reflection
18 months. That's how long The Square Meter has existed. The workshop has seen:
12 tile brands tested
10 paint brands tested
6 sink materials tested
4 LVP brands tested
8 subway tile brands tested
3 laminate brands tested
4 caulks tested
Hundreds of samples cut, stained, scratched, and measured
Thousands of data points recorded
The workshop is a small room. But it's produced a lot of data.
Every post starts with a walk to the workbench. I cut a sample, measure it, test it. I write the results. I move on.
There's no marketing. There's just me, my tools, and the materials.
The Fine Print
The photos were taken with a standard phone camera. No filters. No lighting.
The workshop is in my house in Portland.
The samples are real. The tools are real. The failures are real.
If you want to see the full photo set, they're included in every post on The Square Meter.
The caliper is a Mitutoyo. The scratch tester is my own design. The workbench was built in 2019.
The coffee ring is from November 2025.
No signals yet — transmit the first.